

How to Set Up and Use a Raspberry Pi Camera Module
Mar. 11, 2024
The Raspberry Pi camera module is a versatile and affordable accessory that allows users to capture images and videos with their Raspberry Pi boards.
Hardware Requirements:
Raspberry Pi board (compatible with camera module)
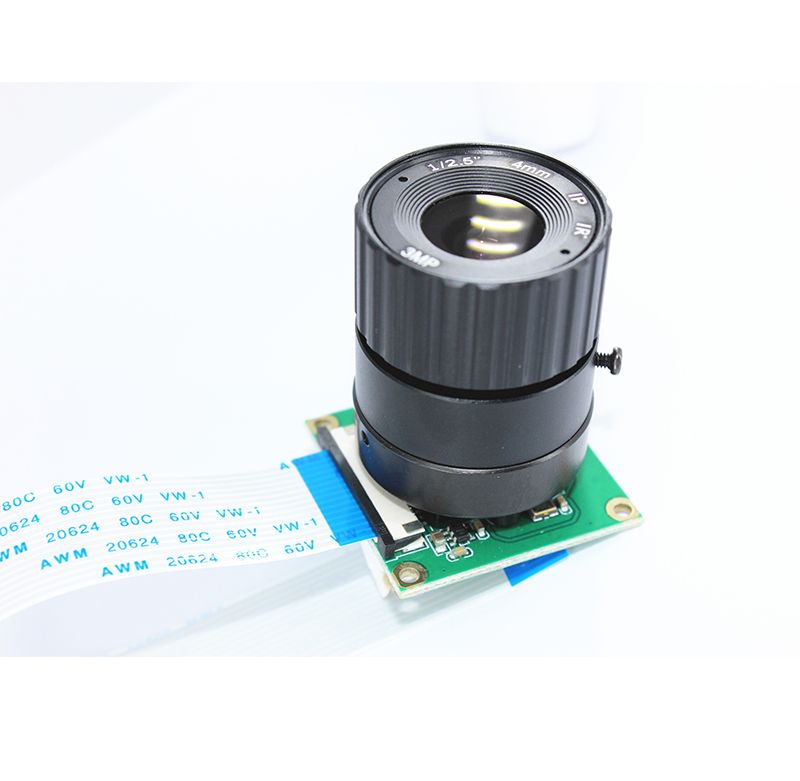
Raspberry Pi camera module (either the standard or the NoIR version)
MicroSD card (with Raspberry Pi OS installed)
Power supply
Optional: Camera module cable (if not included with the camera)
Installing the Camera Module:
Before installing the camera module, ensure that your Raspberry Pi board is powered off and disconnected from the power supply.
Locate the camera connector on the Raspberry Pi board, typically labeled "Camera" or "CSI."
Gently insert the ribbon cable into the camera connector, making sure the metal contacts are facing towards the Ethernet port.
Secure the ribbon cable in place by gently pressing down on the connector's tabs.
Once the camera module is connected, power on your Raspberry Pi board.
Enabling the Camera Interface:
Additional reading:
The Benefits of Using UPC Printer Free: Streamlining Your Processes and Saving Money
How Does 3D printers Work?
How to Choose Thermal Transfer Barcode Labels
5 Things to Know Before Buying commercial display products
Which barcode printer has 400 dpi resolution?
Unlocking the Power of UM-S5 Quartz Crystal
Is Your Wired Conference Microphone System Causing Sound Issues and Frustration?Once your Raspberry Pi is powered on and booted up, open the Raspberry Pi Configuration tool by typing
sudo raspi-config in the terminal.Navigate to "Interfacing Options" and select "Camera."
Choose "Enable" to activate the camera interface.
Reboot your Raspberry Pi to apply the changes.
Testing the Camera Module:
After enabling the camera interface, you can test the camera module using the Raspberry Pi Camera application.
Open the terminal and type
raspistill -o test.jpg to capture a still image with the camera module. This command will save the image as "test.jpg" in the current directory.Alternatively, type
raspivid -o test.h264 to record a video with the camera module. This command will save the video as "test.h264" in the current directory.You can view the captured image or video by navigating to the directory where it is saved.
Using the Camera Module in Python:
The Raspberry Pi camera module can also be accessed and controlled using Python programming language.
Install the picamera Python library by typing
sudo apt-get install python3-picamera in the terminal.Write a Python script to capture images or record videos using the camera module. Refer to the picamera documentation for code examples and tutorials.
Setting up and using a Raspberry Pi camera module is a straightforward process that opens up a world of possibilities for photography, videography, and DIY projects. By following the steps outlined in this guide, you can start capturing images and videos with your Raspberry Pi board in no time. Experiment with different settings, explore Python programming, and unleash your creativity with the Raspberry Pi camera module.
How long does a 1200W power station last?
Six questions to ask before choosing liquid handling ...
How Much Does An Off-Grid Solar System Cost? | Eco Happy
HC-49SMD 8MHZ 20PF 20PPM 2Pad SMD/SMT Quartz ...
Questions You Should Know about OEM robotic vacuum product design
Most Commonly Asked Solar Battery questions (FAQs)
How Will Wireless Microphone Interference Impact Your Performance Quality?
171
0
0
None
None
Related Articles
-
What Are the Key Benefits of Seam 2520 Quartz?
The world of crystals is vast and varied, but few offer the unique benefits of the seam 2520 quartz
181
0
0
-
How Can Customization Enhance the Efficiency of My Robotic Vacuum?
In today's fast-paced world, efficiency is key, especially when it comes to household chores
131
0
0
-

120
0
0
-
125
0
0
-

117
0
0
-

81
0
0
-
Essential Solutions for Common Conference System Accessories Troubles
When it comes to hosting a successful conference, the right accessories are essential
31
0
0
-
40
0
0
Comments
All Comments (0)